Gardening has always been a labor of love for me, but I confess there was a time when the labor part felt a bit too literal. Each spring, I would spend hours digging and turning the soil in my garden beds, convinced that it was the only way to ensure a productive growing season. That was until I stumbled upon the no-till gardening method. This approach transformed not only my garden but also my understanding of soil health. I stopped digging my garden beds, and to my delight, the soil improved year after year.
Understanding No-Till Gardening
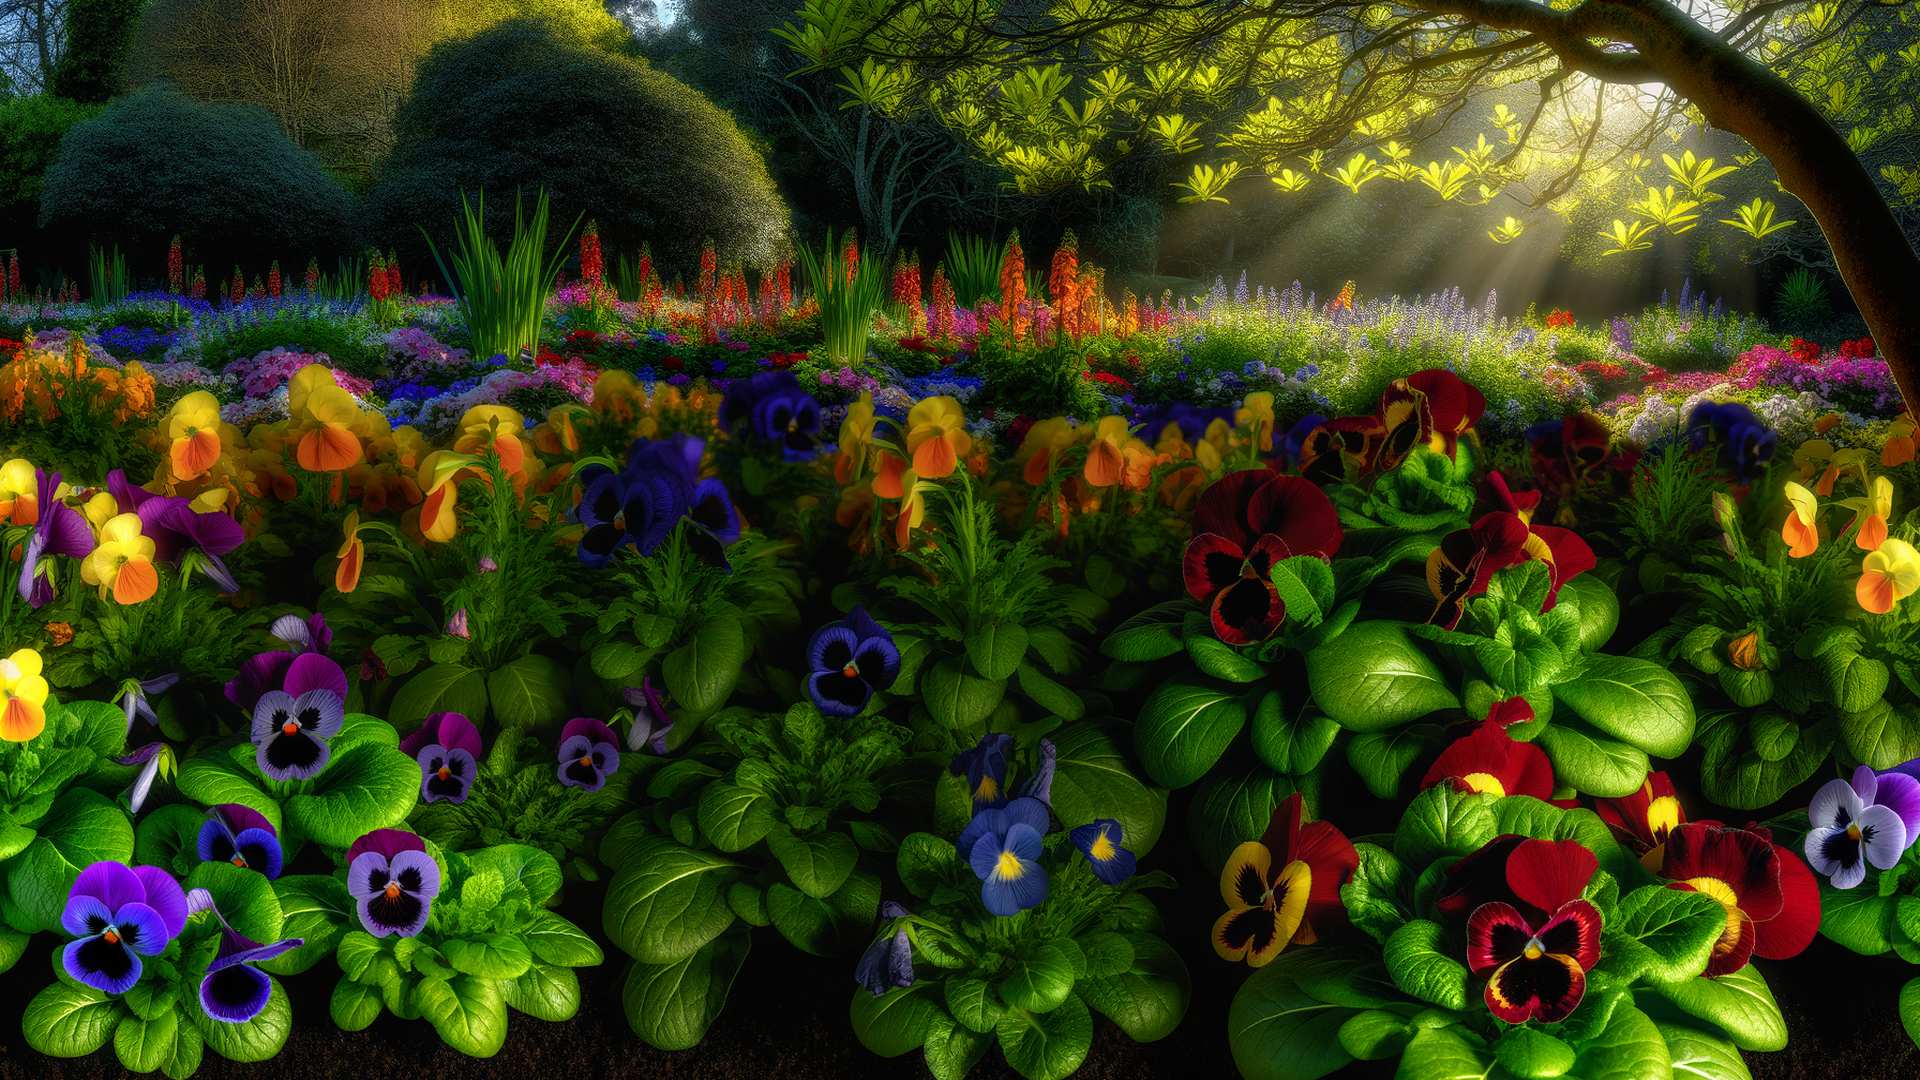
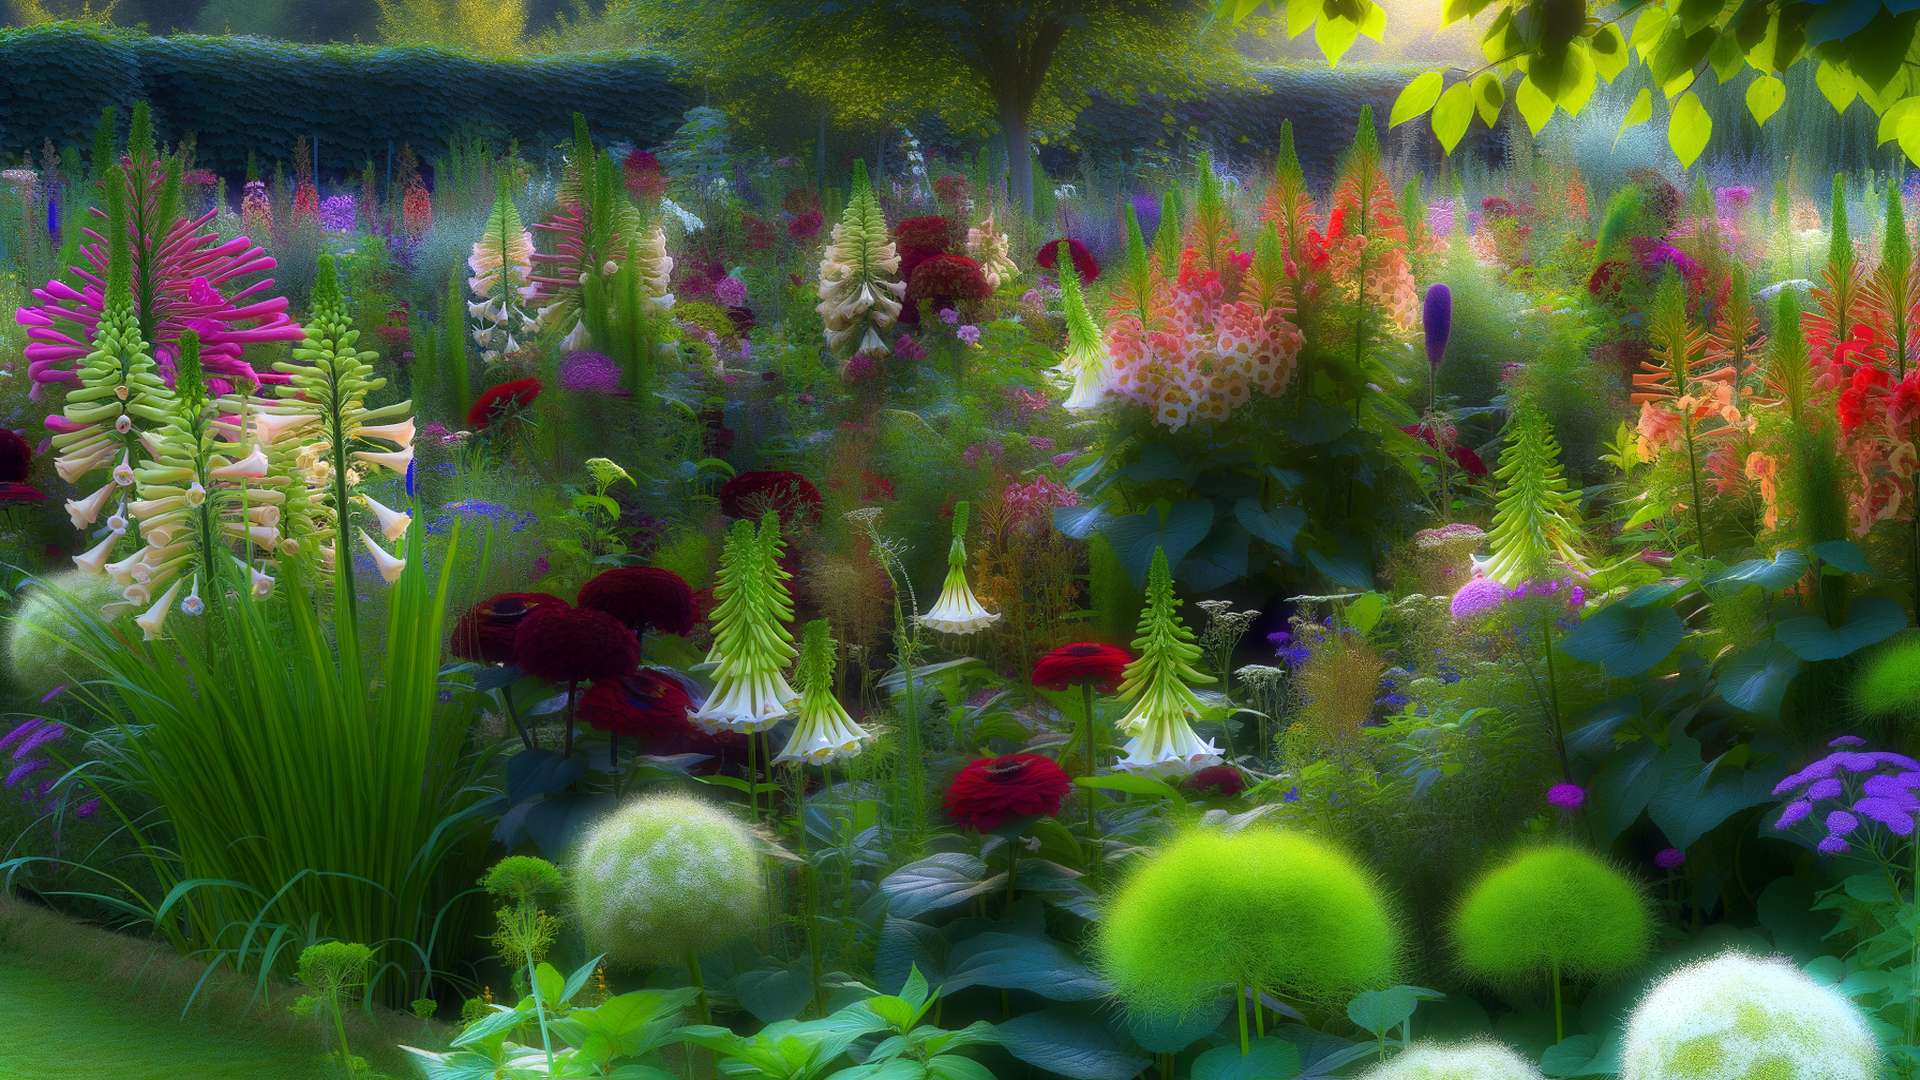
No-till gardening is a method that focuses on minimizing soil disturbance. Instead of turning over the soil each season, you leave it intact, allowing nature to do the work. This approach mimics natural ecosystems, where soil layers remain undisturbed and organic matter accumulates on the surface, leading to a rich and fertile ground.
The Science Behind It
The key to no-till gardening lies in the soil's microbial life. Soil is a living ecosystem, teeming with microorganisms, worms, and fungi. These organisms are crucial for soil fertility as they break down organic material, improve soil structure, and enhance nutrient availability. When you till the soil, you disrupt these delicate networks, leading to a temporary boost in fertility but long-term degradation in soil health.
Benefits of No-Till Gardening
- Improved Soil Structure: No-till methods enhance the soil's ability to retain water and air, essential for plant roots.
- Increased Organic Matter: Organic materials, like leaves and compost, build up on the soil surface, enriching it over time.
- Reduced Erosion: By keeping the soil covered, the risk of erosion from wind and rain is minimized.
- Preservation of Soil Life: No-till gardening supports a thriving ecosystem of soil organisms, which are vital for nutrient cycling.
How to Implement No-Till Gardening
Switching to a no-till approach might seem daunting, but with a little planning, it's straightforward and highly rewarding.
Start with a Strong Foundation
- Choose the Right Location: Ensure your garden site has good drainage and receives adequate sunlight.
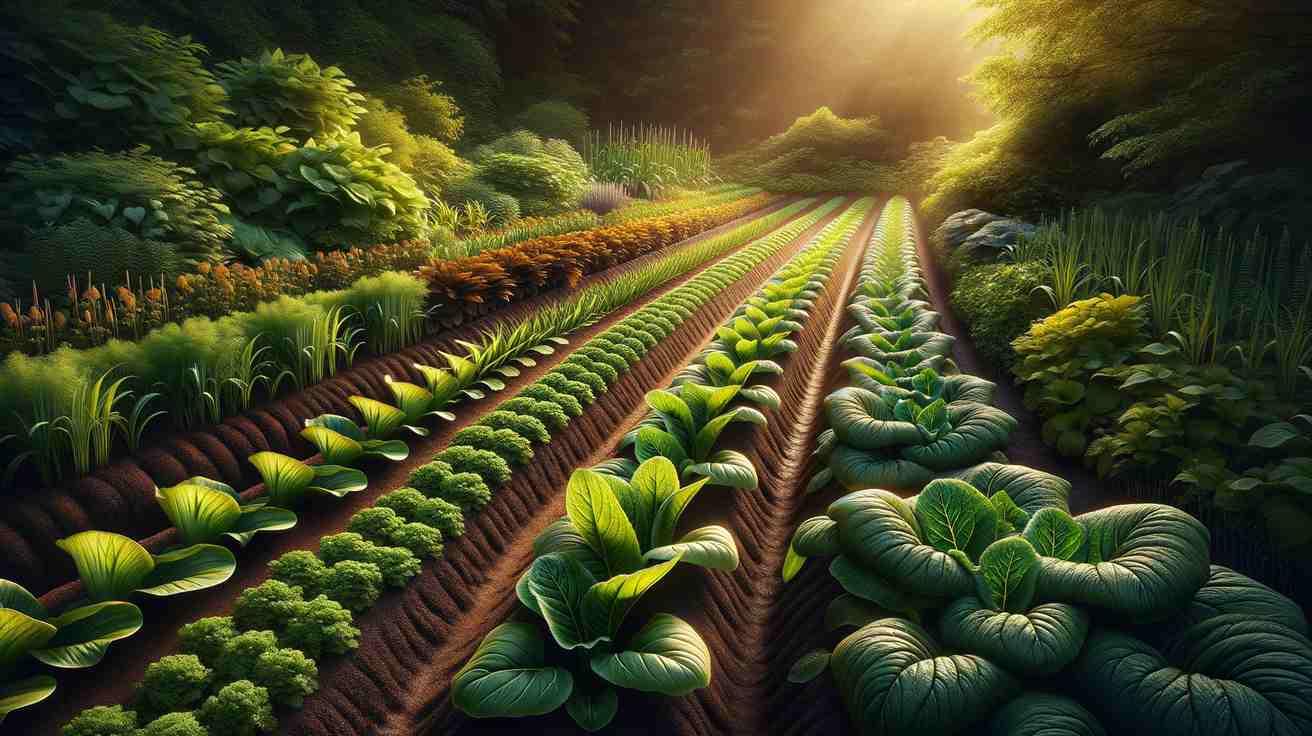
- Layer Organic Materials: Begin by layering organic materials such as straw, leaves, or grass clippings over your existing soil. This forms the basis of your no-till bed.
Building Your No-Till Garden Bed
- Sheet Mulching: This is a foundational technique in no-till gardening. Lay down a thick layer of cardboard or newspaper to suppress weeds. Water it well.
- Add Layers: On top of your sheet mulch, add layers of compost, aged manure, and other organic matter. Aim for a depth of about 6-8 inches.
- Top with Mulch: Finish with a layer of mulch, such as wood chips or straw, to conserve moisture and further suppress weeds.
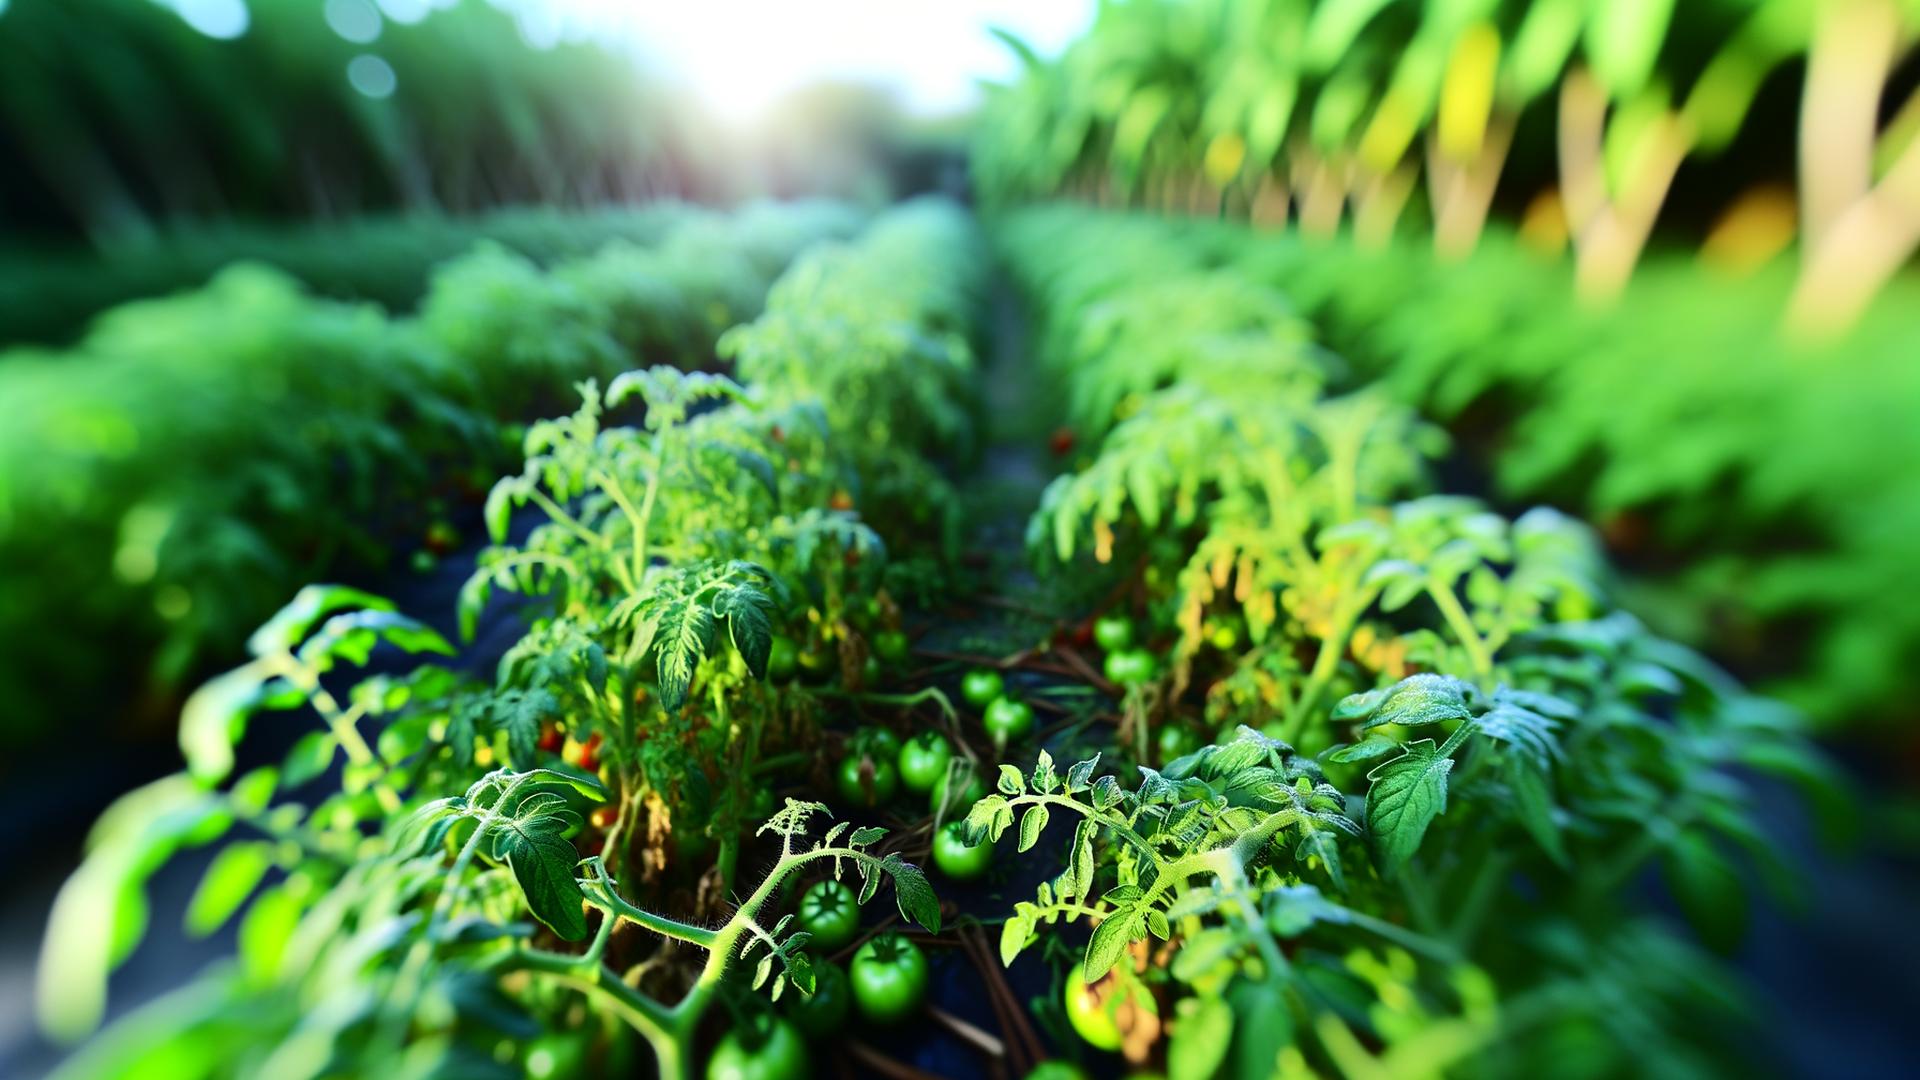
Planting in Your No-Till Garden
- Planting Holes: Instead of turning the soil, create planting holes by pushing aside the mulch and digging just enough to accommodate the plant roots.
- Direct Seeding: For seeds, clear a row in the mulch, sow the seeds, and cover them lightly with soil or compost.
Maintaining a No-Till Garden
Regular Mulching
Keep your garden beds covered with organic mulch. This not only protects the soil but also continues to feed it as the mulch breaks down.
Seasonal Additions
At the end of the growing season, add a layer of compost or well-rotted manure. This replenishes nutrients and prepares the soil for the next planting season.
Weed and Pest Management
- Weed Control: A thick mulch layer suppresses most weeds. Hand-pulling any persistent ones is often sufficient.
- Pest Control: Encourage a diverse ecosystem by planting a variety of crops. Companion planting can also help deter pests naturally.
Observations and Adjustments
As you transition to a no-till system, observe how your garden responds. You may notice an increase in earthworm activity—an excellent indicator of healthy soil. The soil will become darker and crumbly over time, a sign of increased organic matter.
Common Challenges
- Initial Setup: The first year may require more effort to establish the mulch layers.
- Persistent Weeds: Some perennial weeds might require additional management in the early years.
The Long-Term Rewards
The real magic of no-till gardening is in the long-term transformation of the soil. Over the years, your garden beds will become rich, fertile, and teeming with life. The need for chemical fertilizers decreases as the natural fertility of the soil improves. Plants grow stronger, healthier, and more resilient to pests and diseases.
Frequently Asked Questions
-
Does no-till gardening work in all climates? Yes, but the type of mulch and timing may vary depending on your local climate conditions.
-
Can I switch to no-till gardening in an existing garden? Absolutely. Start by layering organic matter over your current garden bed and follow the no-till principles.
-
How do I control weeds without tilling? Use a thick layer of organic mulch to suppress weeds, and hand-pull as needed.
-
Will no-till gardening attract pests? A healthy soil ecosystem often balances pest populations. Companion planting and biodiversity also help manage pests naturally.
-
What materials make the best mulch? Straw, wood chips, and shredded leaves are excellent mulch choices.
-
How often should I add compost to my no-till garden? Add a layer of compost at least once a year, ideally in the fall.
-
Can I grow all types of plants in a no-till garden? Most plants thrive in a no-till system, but always consider the specific needs of each plant.
-
How do I start seeds in a no-till garden? Clear a small area of mulch, sow the seeds, and cover them lightly with soil or compost.
-
Is no-till gardening suitable for large-scale farming? Yes, many farmers use no-till methods to improve soil health and reduce labor costs.
-
How long before I see improvements in soil quality? You may notice some improvements in the first year, but significant changes become evident after a few seasons.
Discussion (0)
No comments yet. Be the first to start the conversation!
Leave a Reply