Growing peppers successfully is not about luck, expensive chemicals, or secret products from a bottle.
It is about timing, light, and understanding what the plant actually needs at each stage of life.
Over the years, I’ve refined a system that consistently produces strong plants, early flowering, and heavy yields—even when outdoor temperatures are still unreliable. This approach works for gardens, greenhouses, and containers alike.
Below is the complete method, step by step.
The Biggest Advantage: Start Peppers Early (Much Earlier Than Most People Do)
If you want peppers loaded with flowers the moment they go outside, you must think three months ahead.
Peppers are slow starters. When you sow late, you are planting seedlings outdoors while the plant is still learning how to grow. When you sow early, you plant ready-made producers.
The ideal timeline:
- Sow seeds 8–12 weeks before outdoor planting
- This usually means January or February
- Plants go outside already strong, branched, and often flowering
This single decision alone can double your final harvest.
Light Is Everything: How Many Lumens and What Type?
Temperature indoors is rarely the problem.
Light is.
Without enough light, seedlings stretch, weaken, and never fully recover.
Light for the Growth Phase
During early growth, peppers need:
- Bright, cool-spectrum light
- Approx. 6,000–10,000 lumens per square meter
- 14–16 hours per day
This promotes compact plants, thick stems, and healthy leaves.
Light for the Flowering Transition
As plants mature:
- Slightly warmer spectrum works better
- Still bright, but balanced
- Encourages bud formation and strong flowering response
With modern LED grow lights, this is easy, affordable, and energy-efficient.
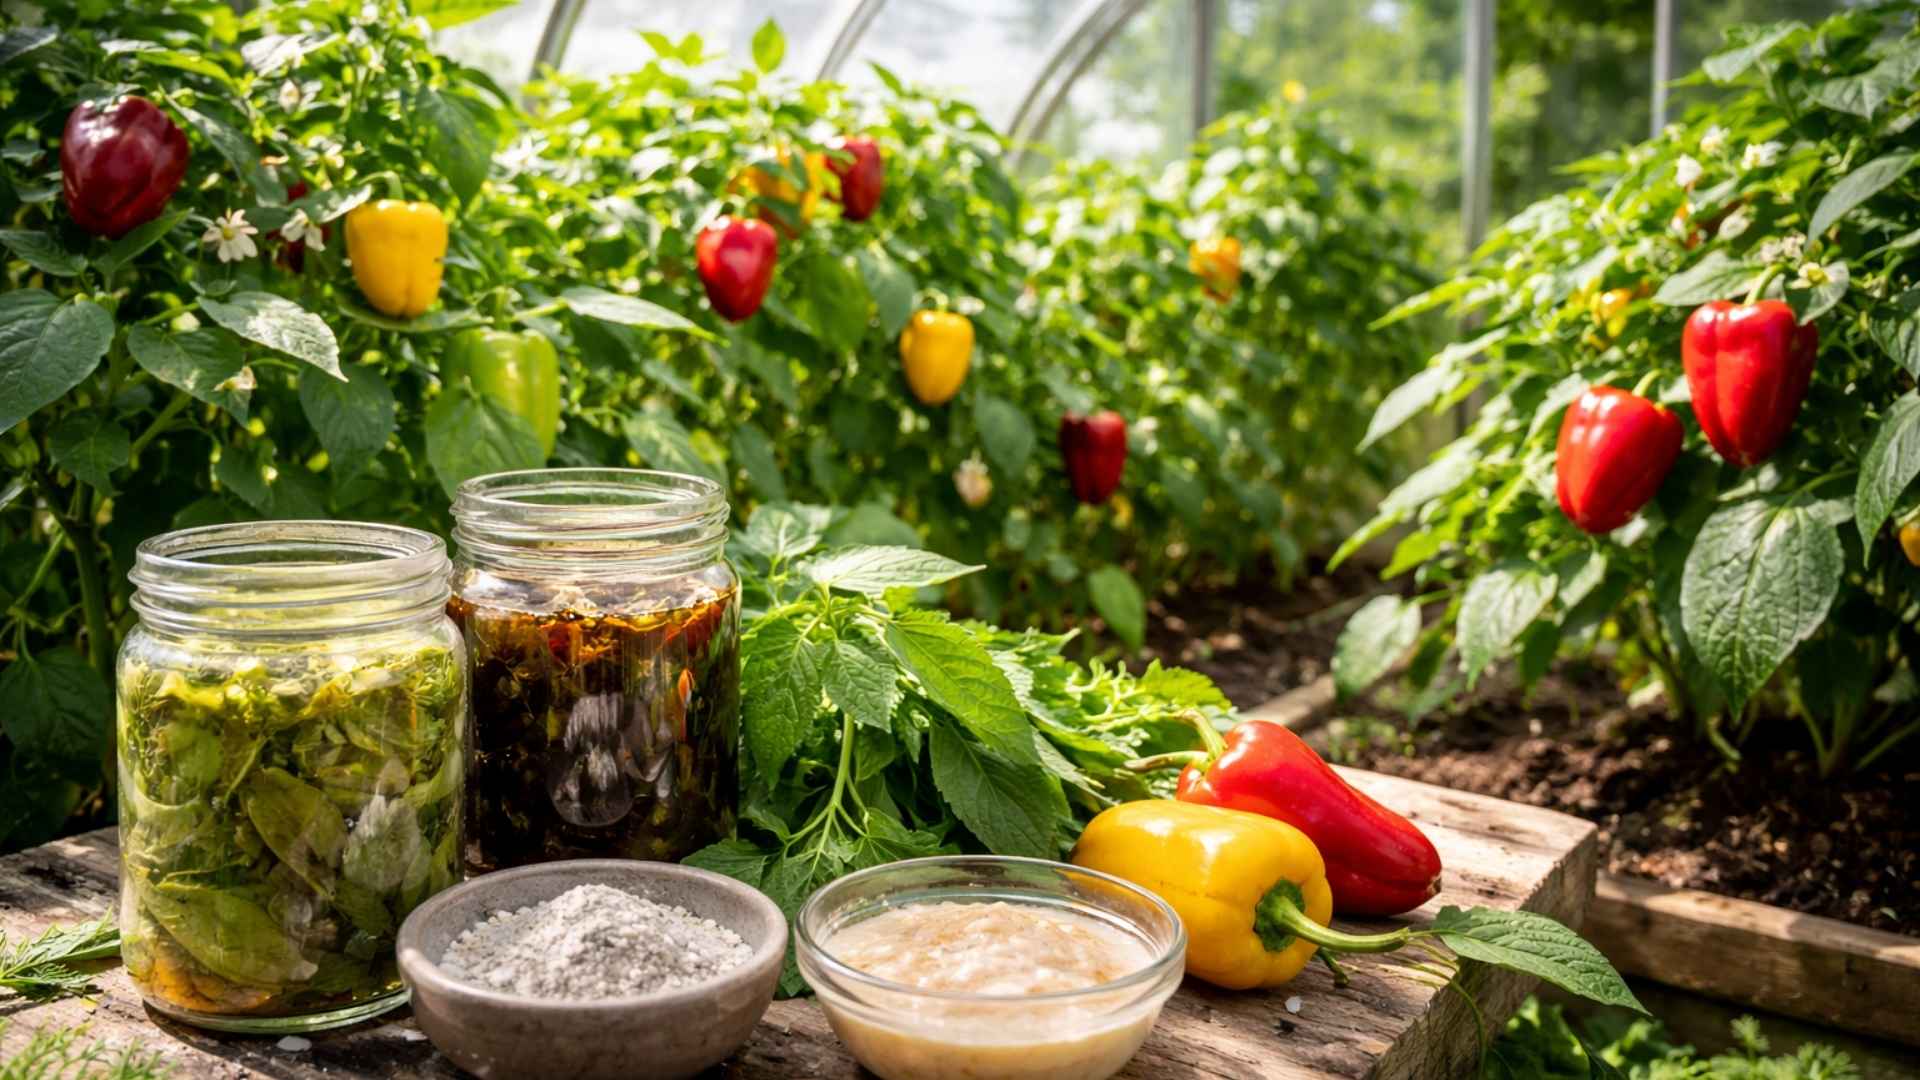
Growth Phase Feeding: Nettle Fertilizer Only
For vegetative growth, peppers crave nitrogen—but not from synthetic fertilizers.
Why Nettle Fertilizer Works
Nettle tea is:
- Rich in nitrogen
- Full of micronutrients
- Easily absorbed
- Safe and forgiving
It drives lush leaf growth and fast recovery without burning plants.
Quick Nettle Fertilizer Recipe
- Fill a container with fresh nettle leaves
- Cover with water
- Ferment for 7–14 days
- Dilute 1:10 before watering
Use only during the growth phase, not flowering.
Flowering Phase: Stop Nitrogen, Switch to Comfrey
This is where most growers fail.
Too much nitrogen during flowering means:
- Lots of leaves
- Few flowers
- Dropping buds
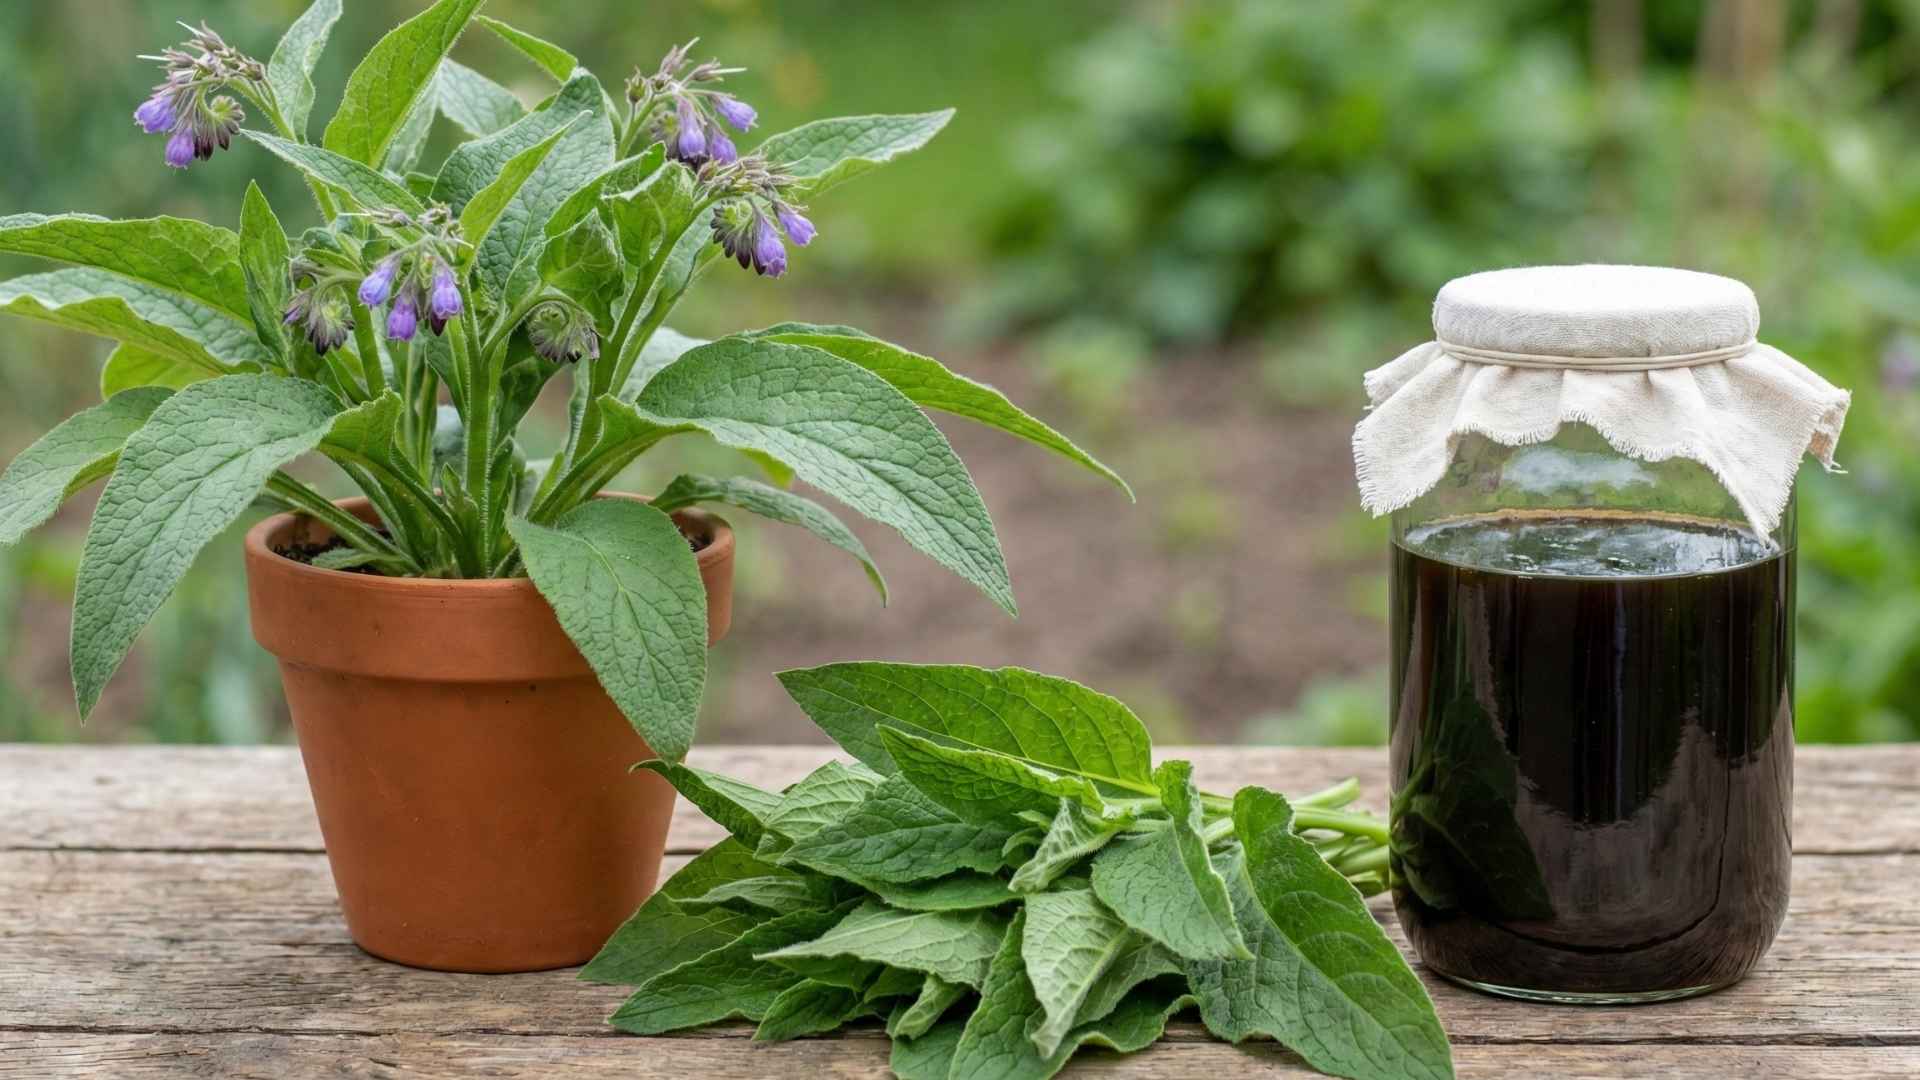
The Correct Solution: Comfrey Fertilizer
Comfrey is rich in potassium, which:
- Supports flower formation
- Strengthens fruit set
- Improves fruit size and quality
Russian vs. Common Comfrey
- Russian comfrey contains significantly more potassium
- It is far superior for flowering and fruiting
- Common comfrey still works, but results are milder
Quick Comfrey Fertilizer Recipe
- Chop fresh leaves
- Cover with water
- Ferment 10–14 days
- Dilute 1:10 before use
Apply once flowering begins.
Phosphorus Boost: Wood Ash (Used Correctly)
Phosphorus is essential for:
- Root strength
- Flower initiation
- Energy transfer in plants
The best natural source?
Wood ash from hardwood.
Use sparingly:
- A small amount mixed into soil
- Or lightly dusted and watered in
Avoid overuse—ash also raises soil pH.
The Secret Finisher: Yeast Water Every Two Weeks
Yeast is not a fertilizer—it’s a biological stimulant.
It feeds beneficial microbes and boosts nutrient uptake.
Yeast Solution Recipe
- 1 tablespoon baker’s yeast
- 1 teaspoon sugar
- Dissolve in warm water
- Let activate 30 minutes
- Dilute in watering can
Apply every two weeks during active growth and flowering.
Water, Air, and Heat: The Final Rules
No fertilizer works if these basics are ignored:
- Water only when soil dries slightly
- Never keep roots constantly wet
- Ensure airflow around plants
- Full sun whenever possible
- Heat equals productivity for peppers
Stress-free plants reward you generously.
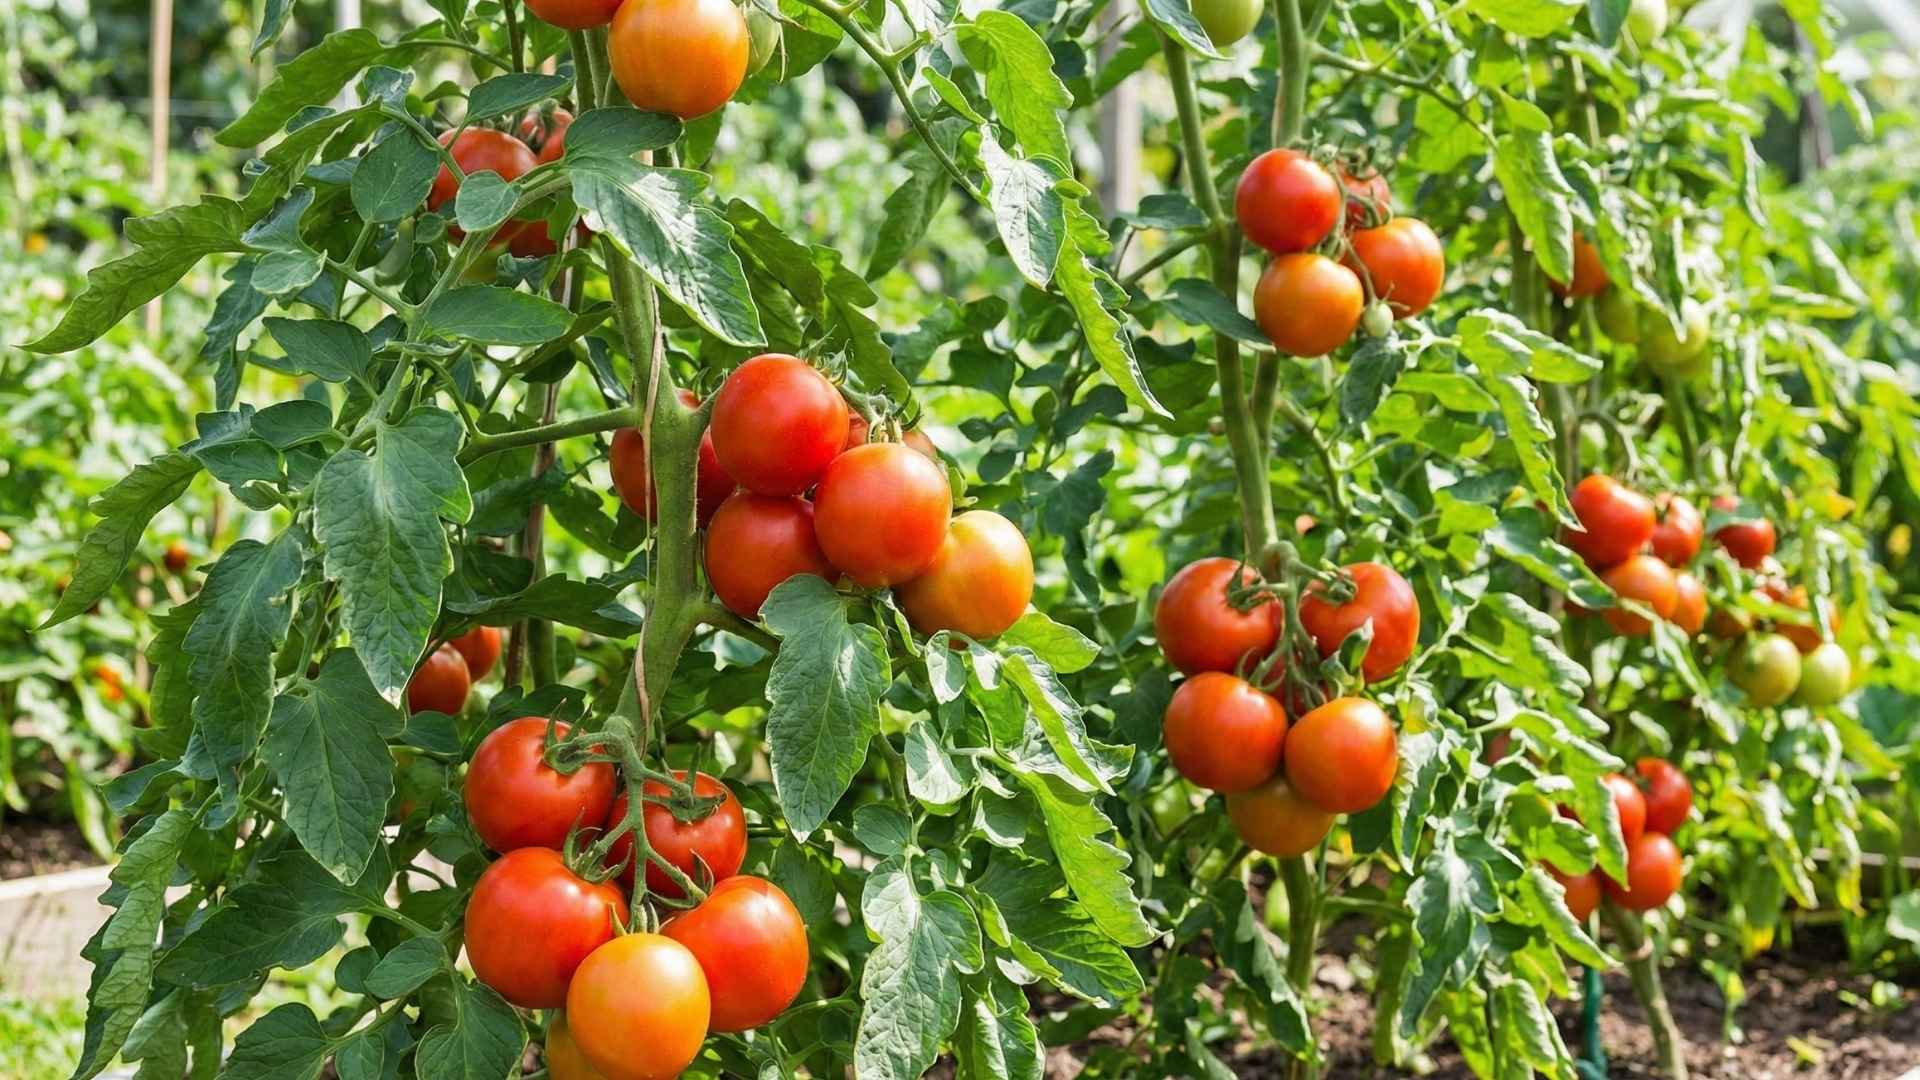
The Result: Why This System Works
This method creates:
- Early flowering plants
- Strong root systems
- Balanced growth
- Heavy, consistent harvests
By the time peppers go outside, they are not seedlings—they are ready-to-produce plants.
That is the difference between “some peppers” and a truly spectacular harvest.
FAQ – Pepper Growing Secrets
1. How early should I start pepper seeds?
8–12 weeks before planting outside.
2. Is artificial light really necessary?
Yes. Light, not temperature, limits winter growth.
3. Can I skip synthetic fertilizers entirely?
Yes. This system is fully natural.
4. When should I stop using nettle fertilizer?
Once flowering begins.
5. Why Russian comfrey specifically?
It contains more potassium than common comfrey.
6. Is wood ash safe for peppers?
Yes, in small amounts and well mixed into soil.
7. What does yeast water actually do?
It boosts microbial life and nutrient availability.
8. How often should peppers be watered?
Only when the soil starts to dry.
9. Can this method be used in containers?
Absolutely—just adjust watering carefully.
10. Will this increase yield noticeably?
Yes. This approach consistently produces larger, earlier harvests.
Discussion (0)
No comments yet. Be the first to start the conversation!
Leave a Reply